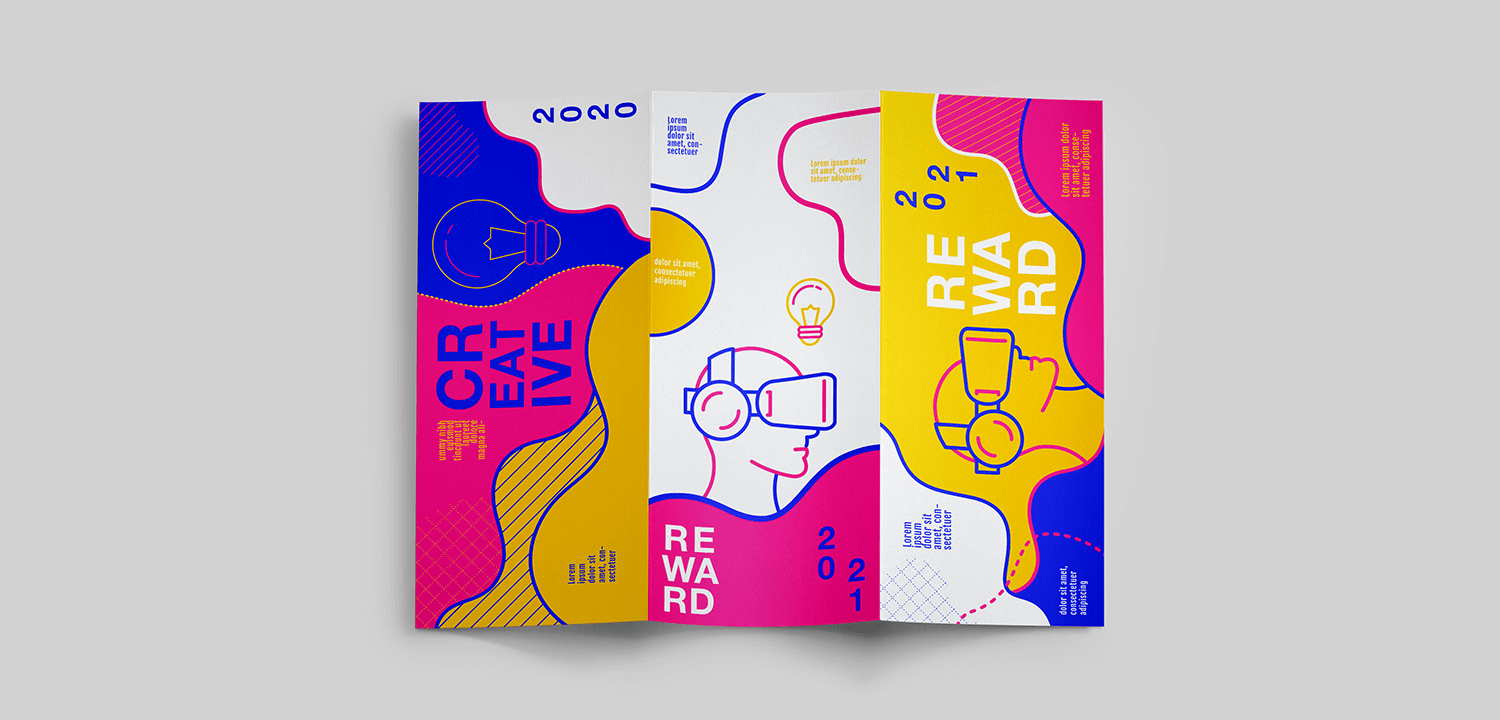
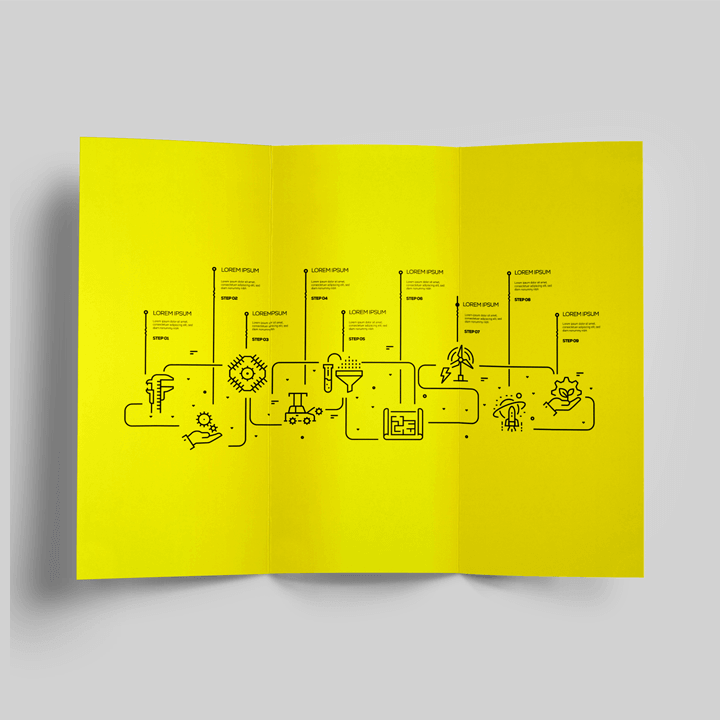
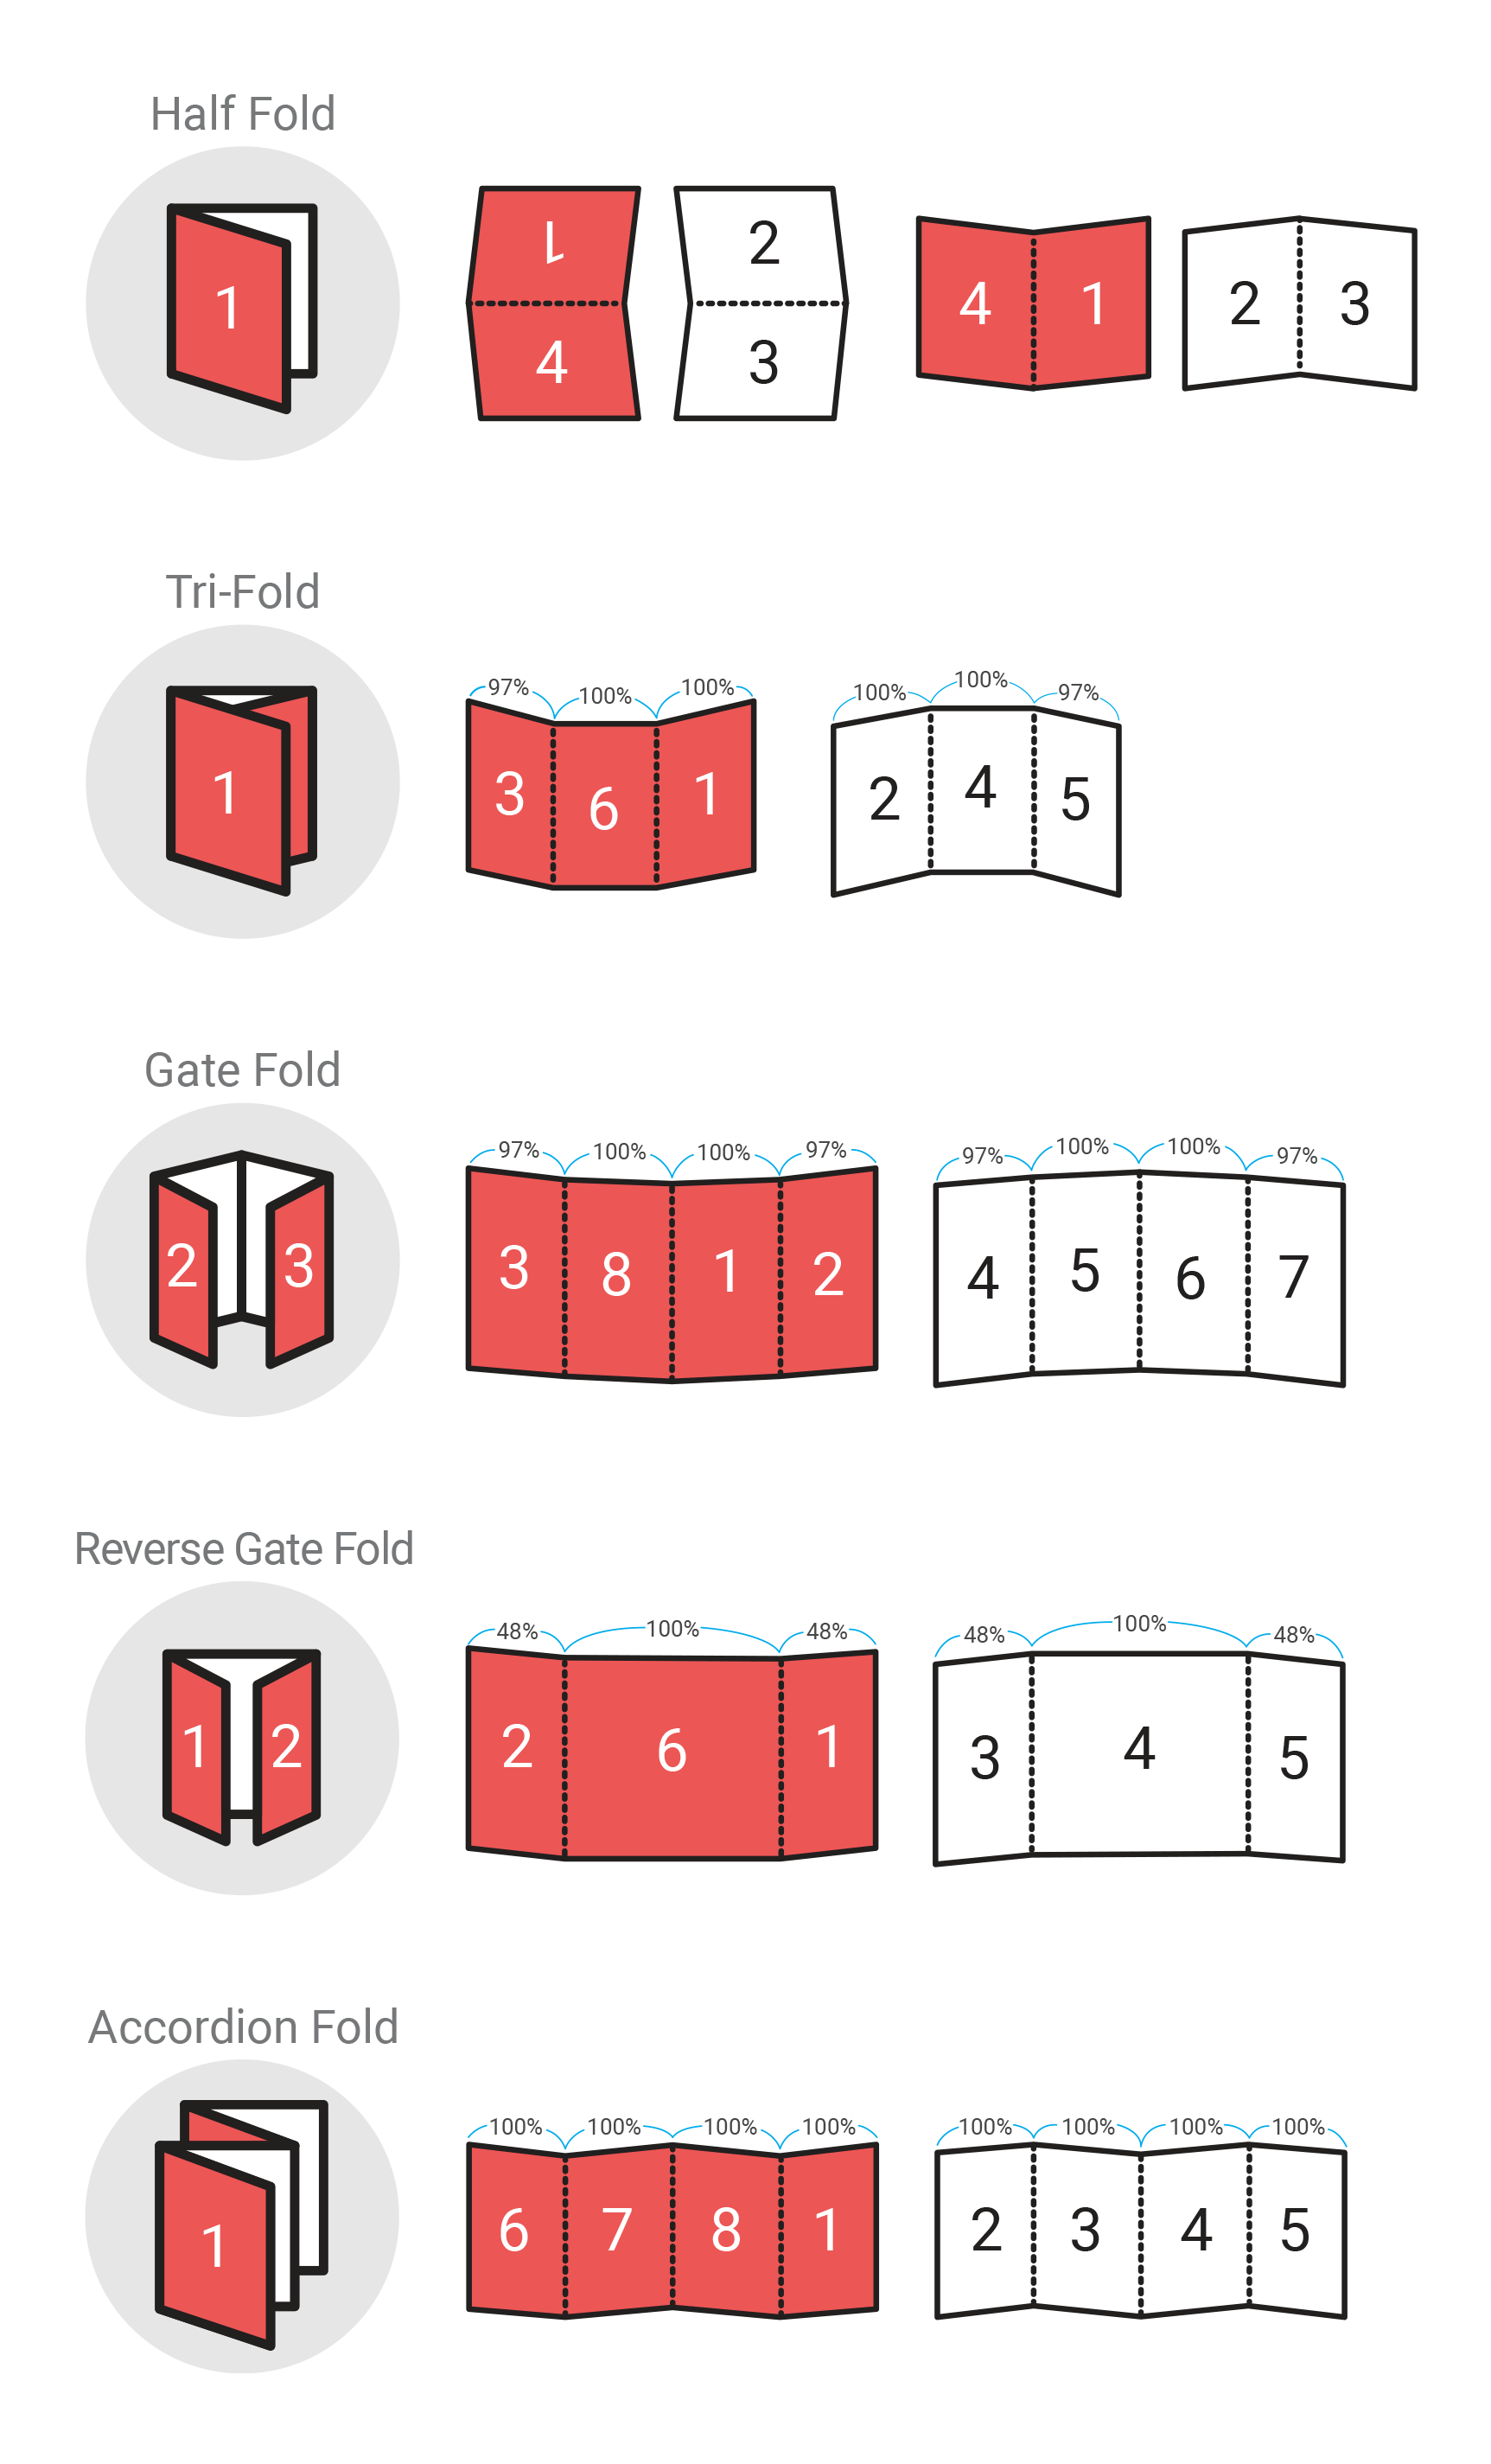
Various shapes & sizes are available. Create custom folds based on your project needs.
We are reviewing your file. An estimate/quotation will appear shortly.
...Before We Print
Have you read and understand the Design Guideline?
You will find it in the Design Guideline Tab on this page.
I confirm I have read and understood the Design Guideline and I have setup my artwork accordingly.
Product Info
Design Guideline
Paper Info
Finishing Info
Shipping Info
Reprints/Refunds
501772
Tri-Fold / Bi-Fold Leaflets
Design Guideline
501772
Design Guideline
If you will be designing artwork for this product, please read through the guideline as our PDF requirements are quite specific. This guide will walk you through the document setup instructions and also the PDF Export process. We recommend reading through our User Guide for any further information.
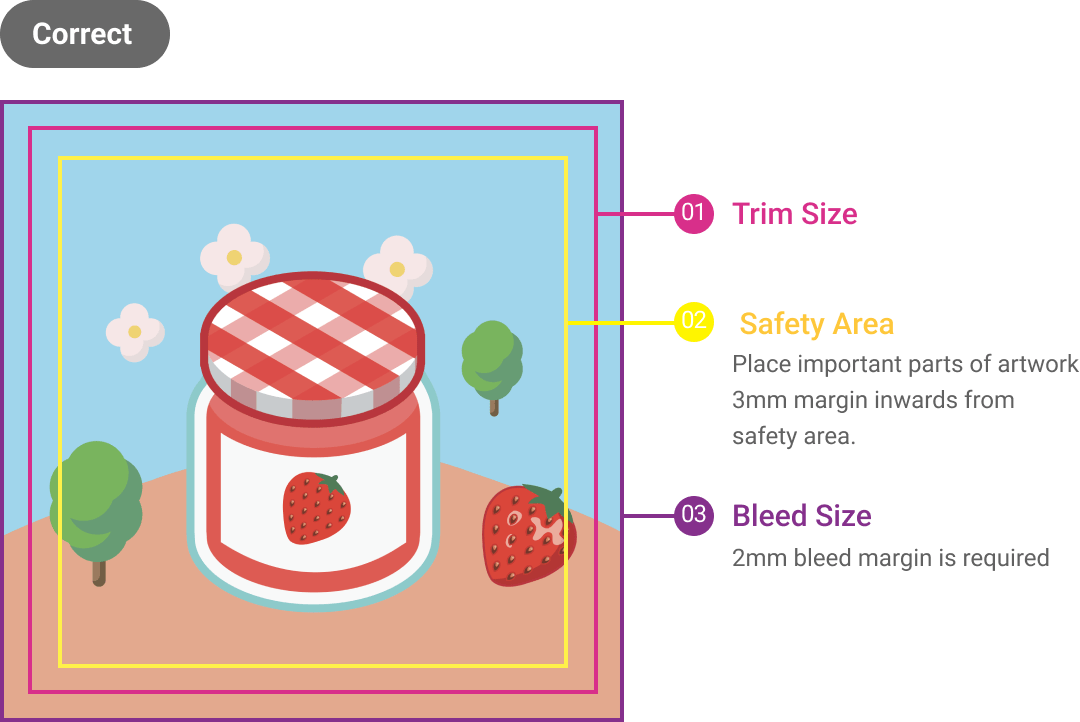
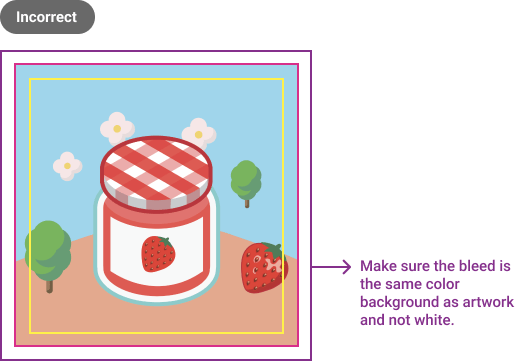
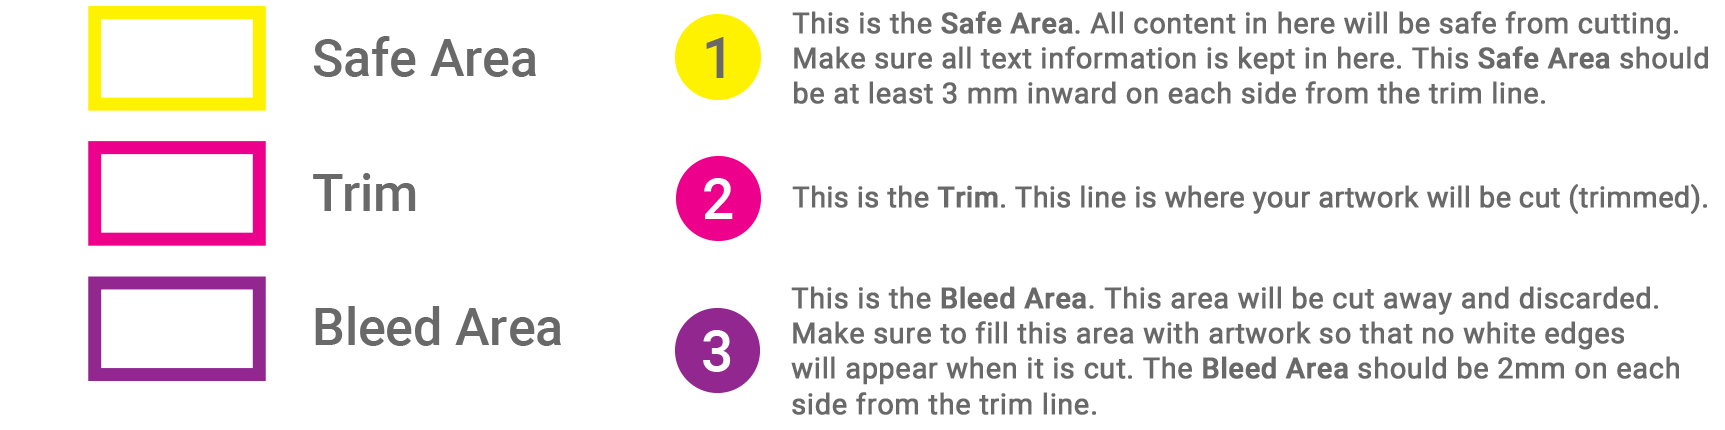
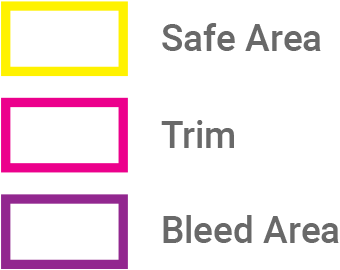
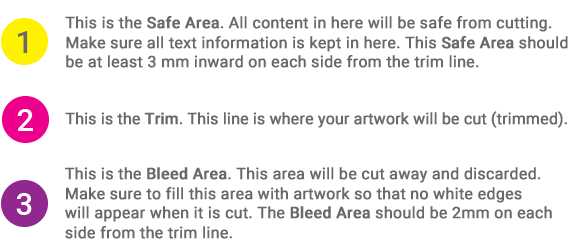
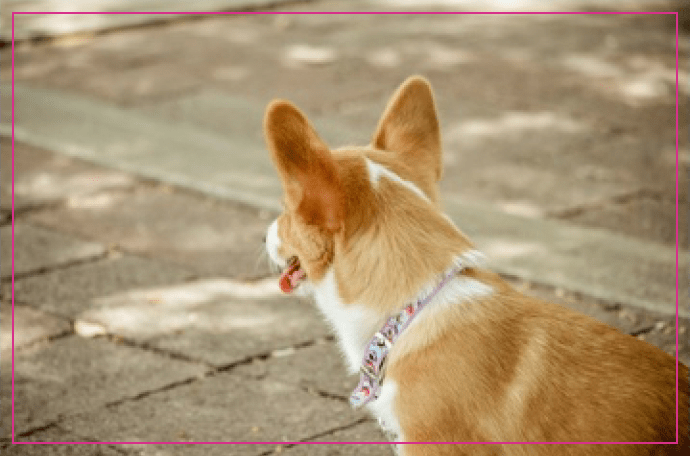
Margin : 2mm on all sides (image)
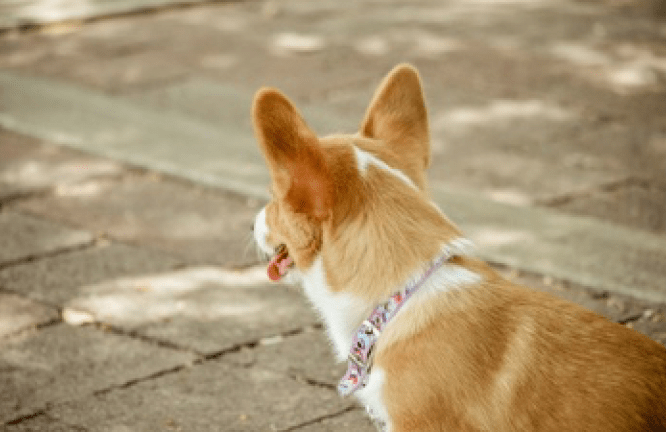
Margin : 2mm on all sides (in white)
Whitish edges can be visible after cutting
Image Resolution Guide
When using imagery in any design for print, resolution is one of the most important factors to enable a high quality print output.
Refer to our User Guide for more information.
Image with a resolution of 300dpi
Image which was originally 72dpi and upscaled to 300dpi using Photoshop
Image which was originally 72dpi and printed at 72dpi
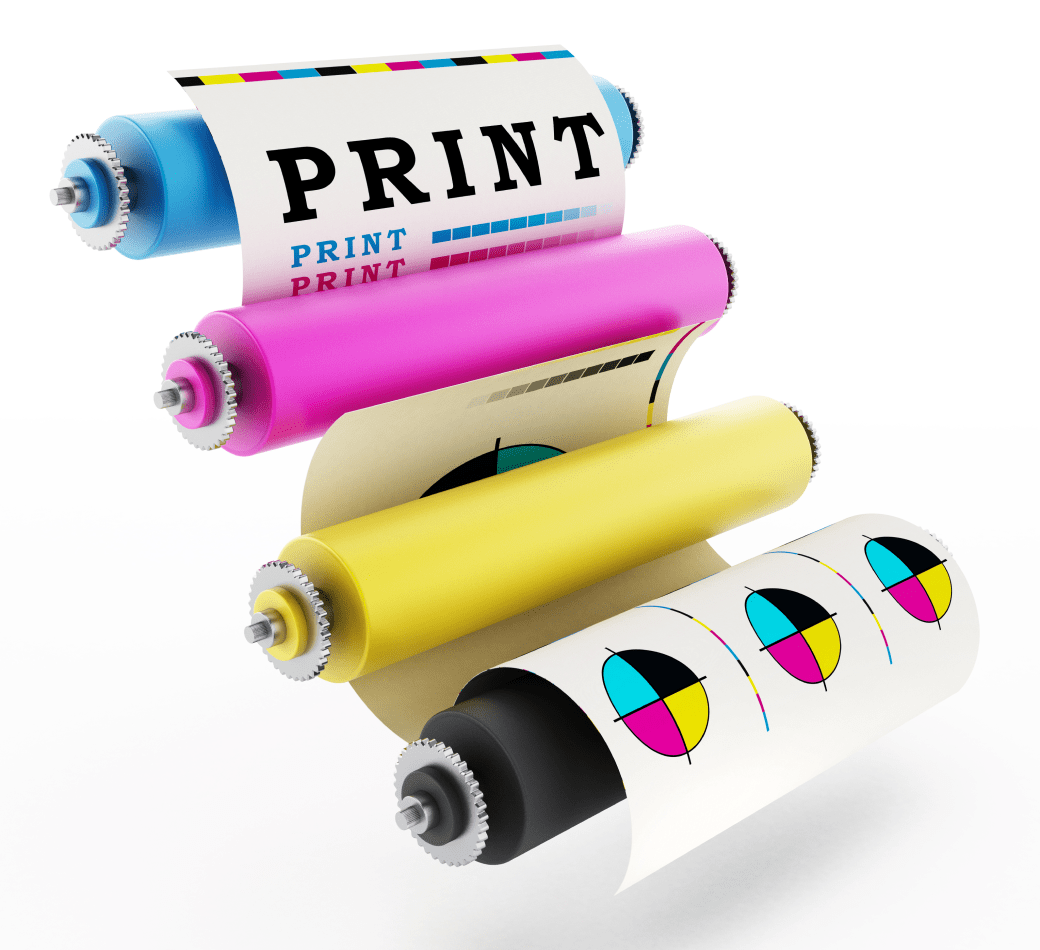
CMYK 4-Color Mode
Our standard printing mode in digital printing is CMYK 4-Color printing system (Cyan, Magenta, Yellow, Black). Please ensure that your design file is in CMYK mode if possible. Any submitted file in RGB will be auto-converted to CMYK before print production.
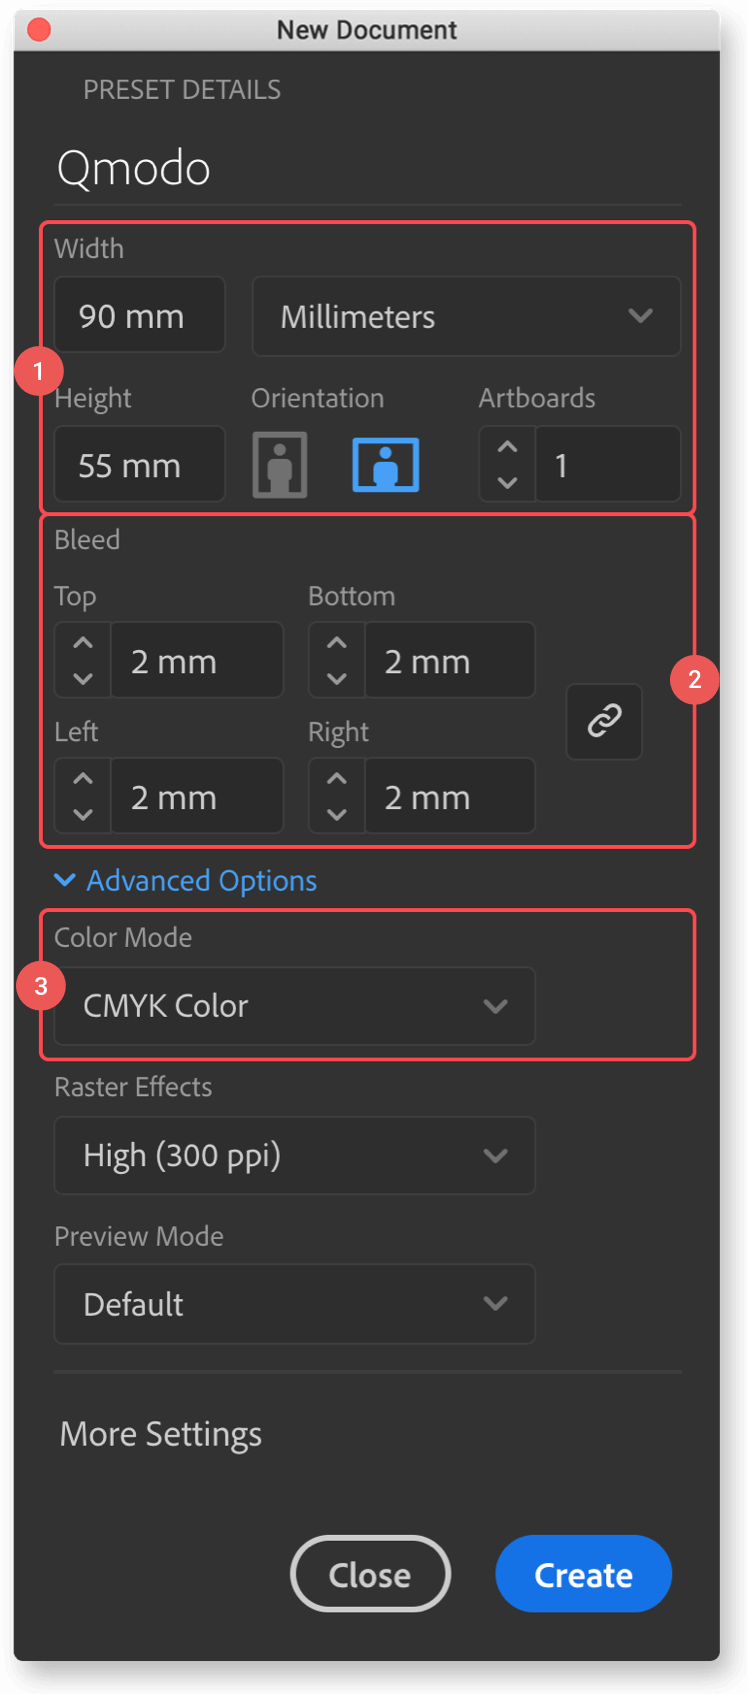
Adobe Illustrator Guide
Create your document size as per the template instruction. This document size is also the Trim Size. Enter the amount of artboards to suit the product you are designing for. 1 Artboard is the same as one sided printing. 2 Artboards are double sided etc.
Here you will need to enter the documents Bleed setting. For a business card, this is 2mm Bleed. Please refer to the product guideline you are designing for, as bleed values can vary.
Select CMYK for the colour mode and Raster Effects High (300ppi).
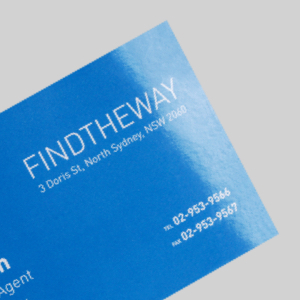
White Printing
White ink printing is used when printing onto non-white paper/material. Examples may include printing onto coloured paper or transparent vinyl. White priting can also be used to add a backing layer to help images retain vibrancy when printing onto a transparent sheet. See the example below of printing without white ink and with white ink.
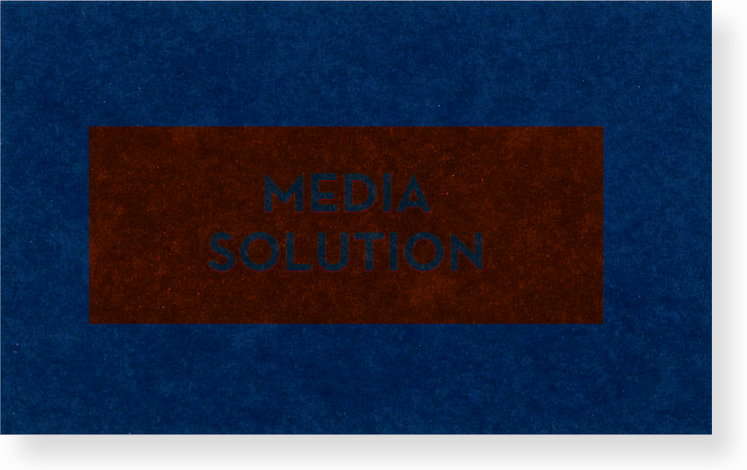
Non-White Printing
Image printed without a white ink layer
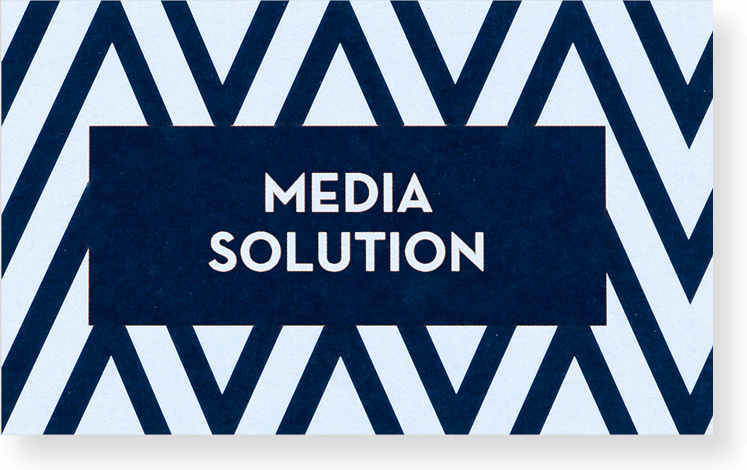
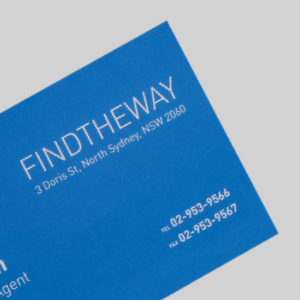
White Printing
Image printed with a white ink layer
As you can see from these examples, the white layer of ink allows the colours of the design to appear more vivid and blocks any light coming through from the back.
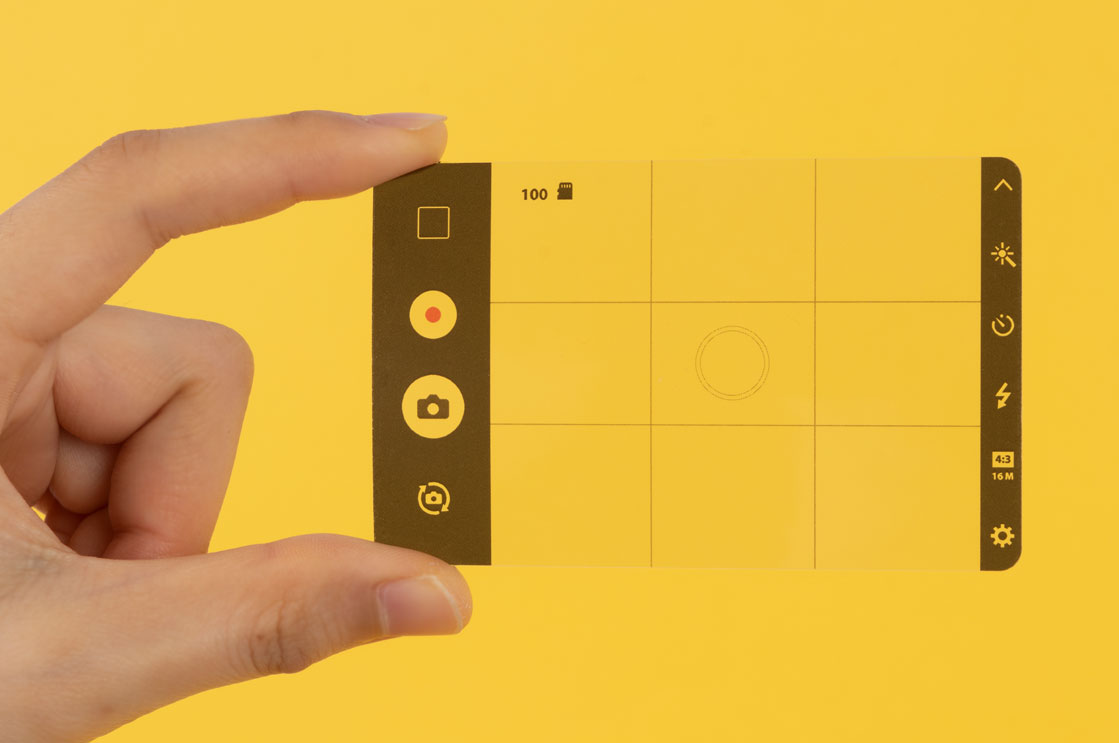
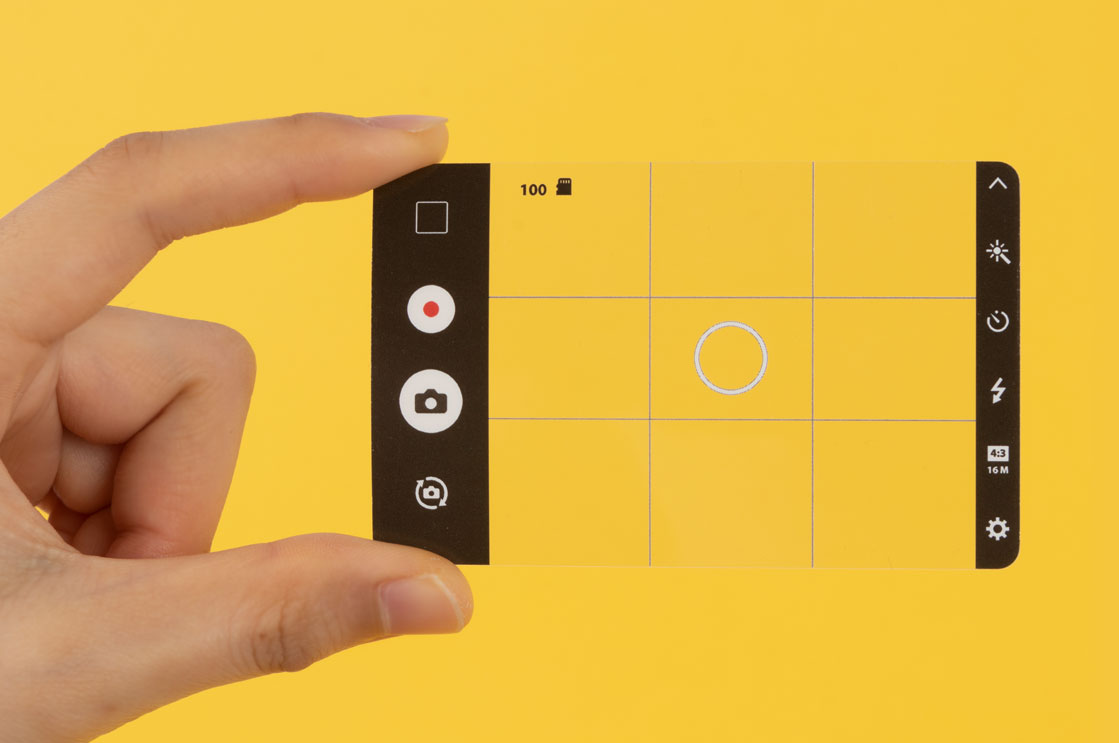
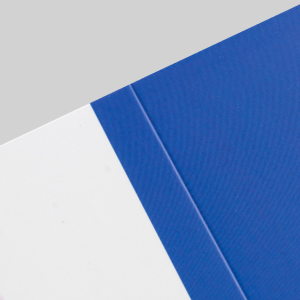
In the case of printing onto coloured paper we can print only white or a combination of a white base layer and then an additional full colour print on top of this. Here below is an exmaple of white printing onto coloured paper, full colour printing onto coloured paper with the white base layer, and full colour printing onto coloured paper (without the white base layer).
Printed with white layer only onto coloured card.
Printed with white layer and colour layer onto coloured card.
Printed with colour layer only onto coloured card.
We strongly recommend to use a white base layer when printing colour onto coloured paper. Choose the printing method which best suits your design/project. If you are unsure don’t hesitate to reach out to our support team who can talk you through the best solutions to best suit your requirements.
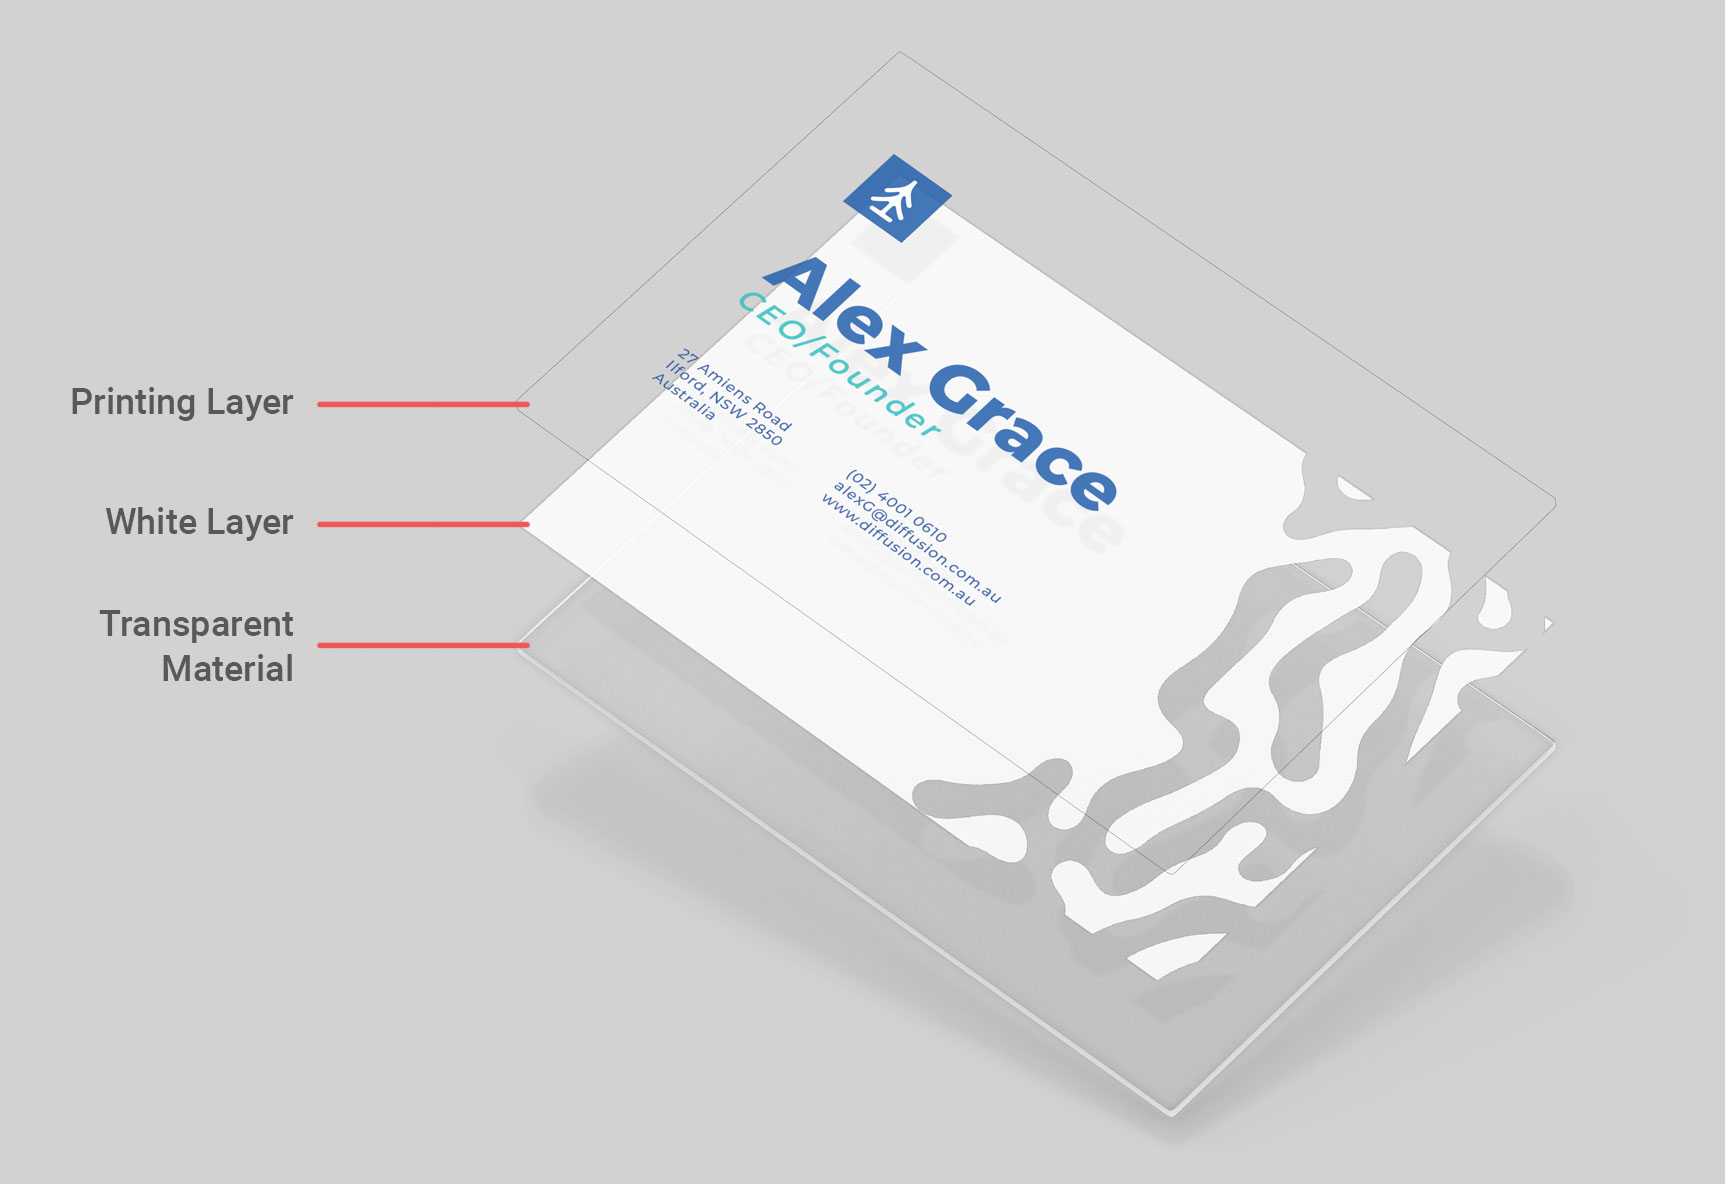
Creating Your File To Print White Ink
White ink can only be printed if you make a ‘White’ Layer in your artwork, using Adobe Illustrator or Indesign only. To do this; create a new layer in Illustrator or Indesign and name it ‘White’. In this layer, use a 100% Black stroke/fill colour to create your design. Everything in black will be printed in white ink. We know this may sound confusing to use a black colour for white printing, but it’s the simplest way for our printing machines to determine which areas require white ink.
Remember to extend any white printing beyond the outside of the bleed line if you want your design to run off the sheet.
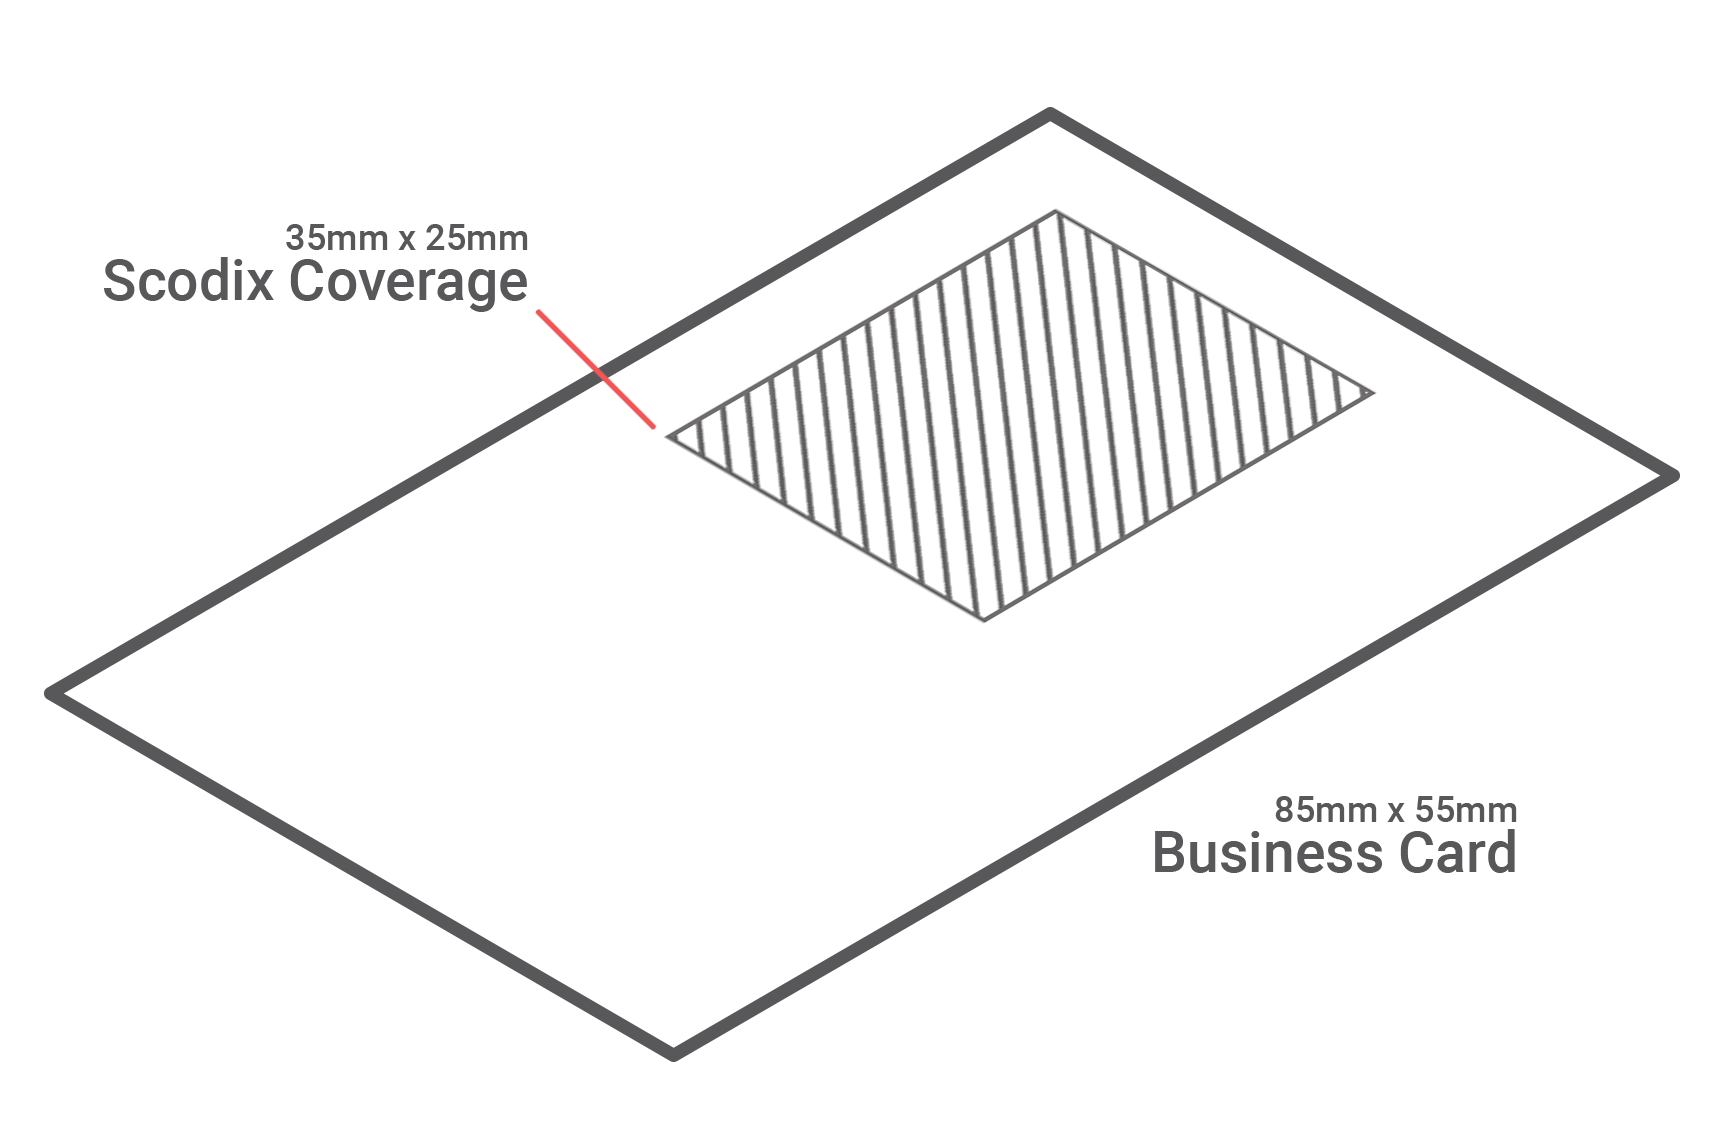
Below this white layer, you can place any other special layers, (eg. Creasing, Scodix, Lasercut, Foil Emboss, etc.). Place your ‘Printing’ layer below any special layers. In this ‘Printing’ layer, you can place all text and images that will be printed in full-colour ink.
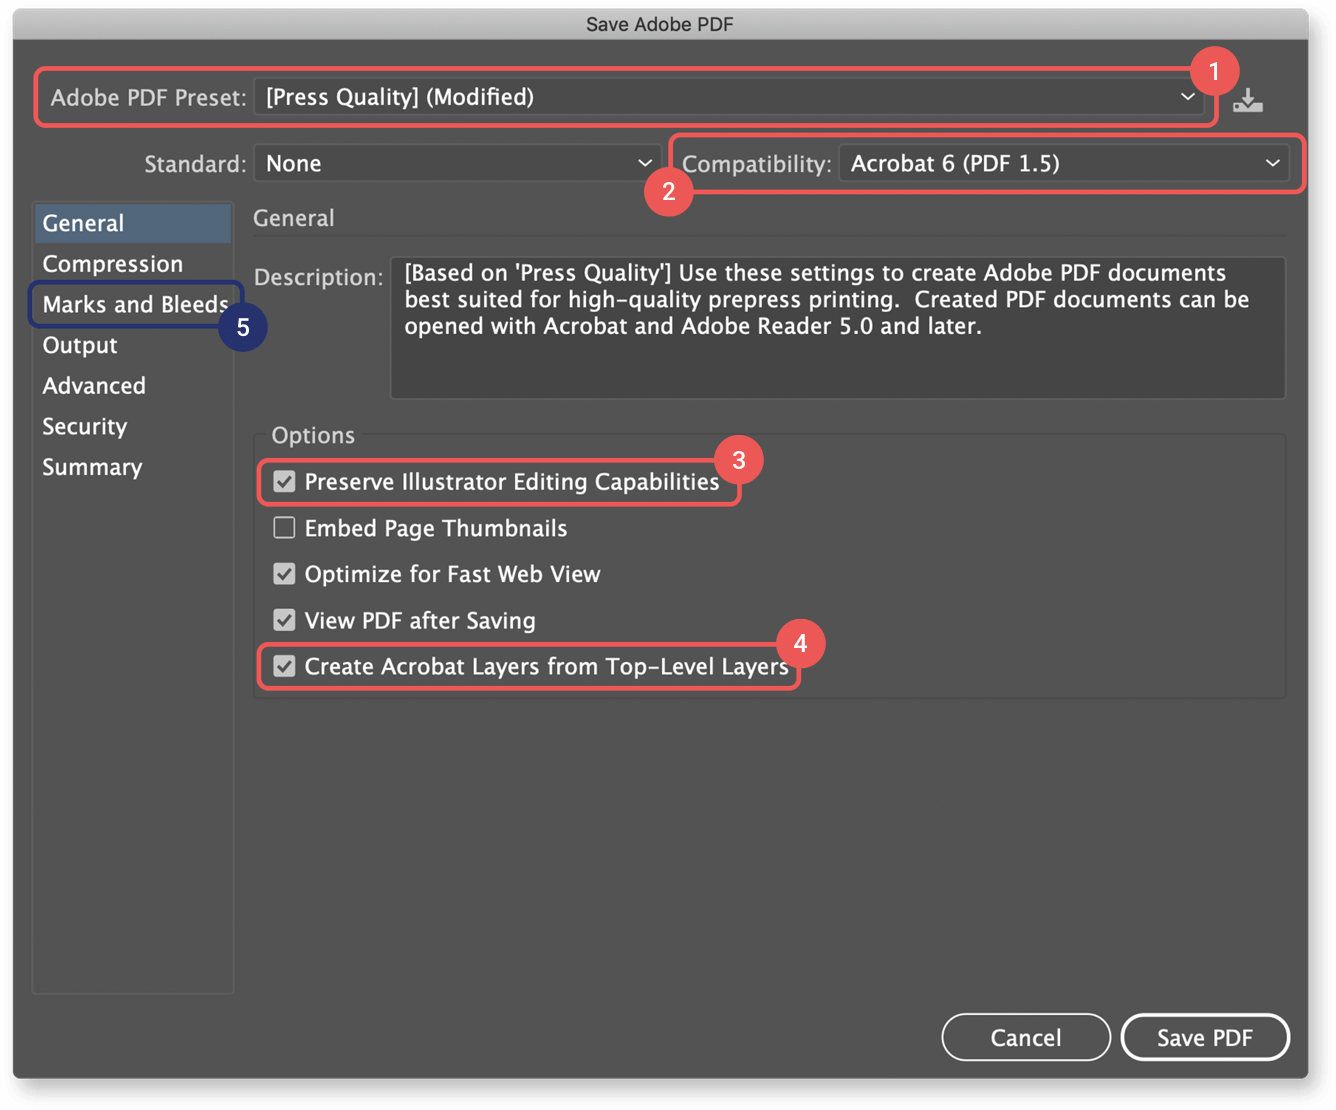
When your design is ready to be exported to PDF, It is essential to export using the below settings.
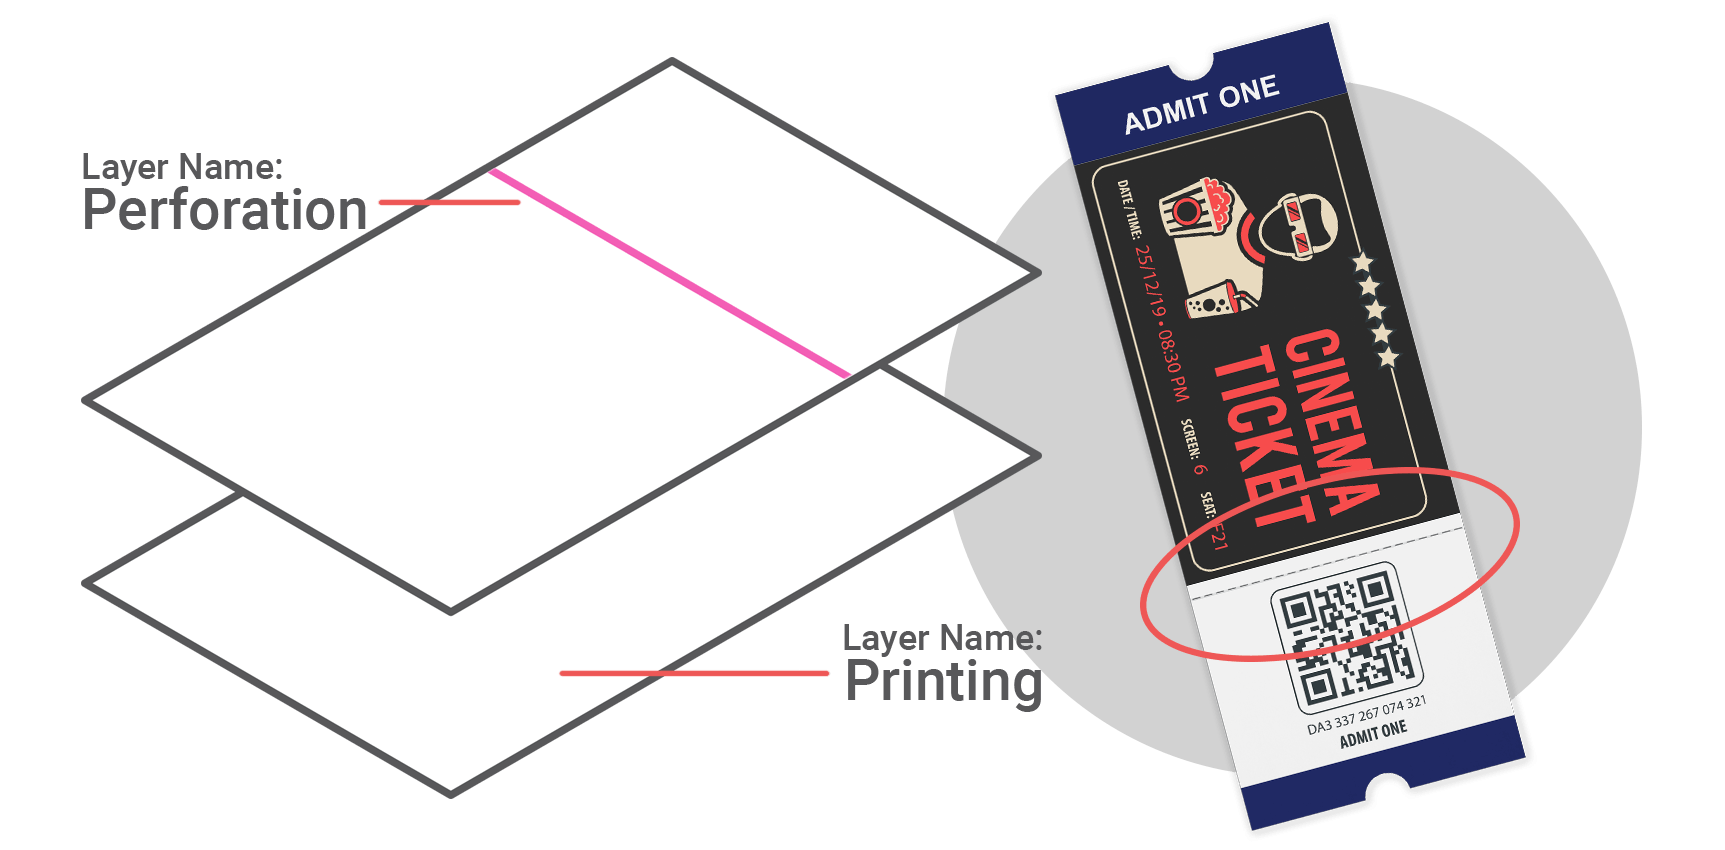
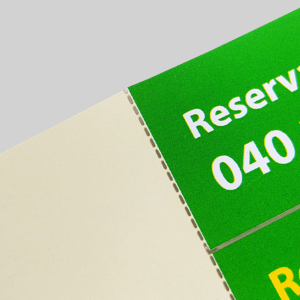
Perforation Guideline
Perforation is a print finish that adds a perforated line to a flat printed card sheet (which can then be torn away). Examples include tickets, coupons, fashion tags etc. The perforation is created after the printing and laminating process.
Perforation can only be created if you make a ‘Perforation’ Layer in your artwork, using Adobe Illustrator or Indesign only.
To do this; create a new layer in Illustrator or Indesign and name it ‘Perforation’. In this layer, use a 100% Magenta stroke colour to create a line where you wish the perforation to be applied.
Please extend the perforation line to the outside of the bleed line.
Below this perforation layer, you can place any other special layers, (eg. Creasing, Scodix, Lasercut, White printing, etc.). Place your ‘Printing’ layer below any special layers, here you can place all text and images that will be printed in full-colour ink.
When your design is ready to be exported to PDF, It is essential to export using the below settings.
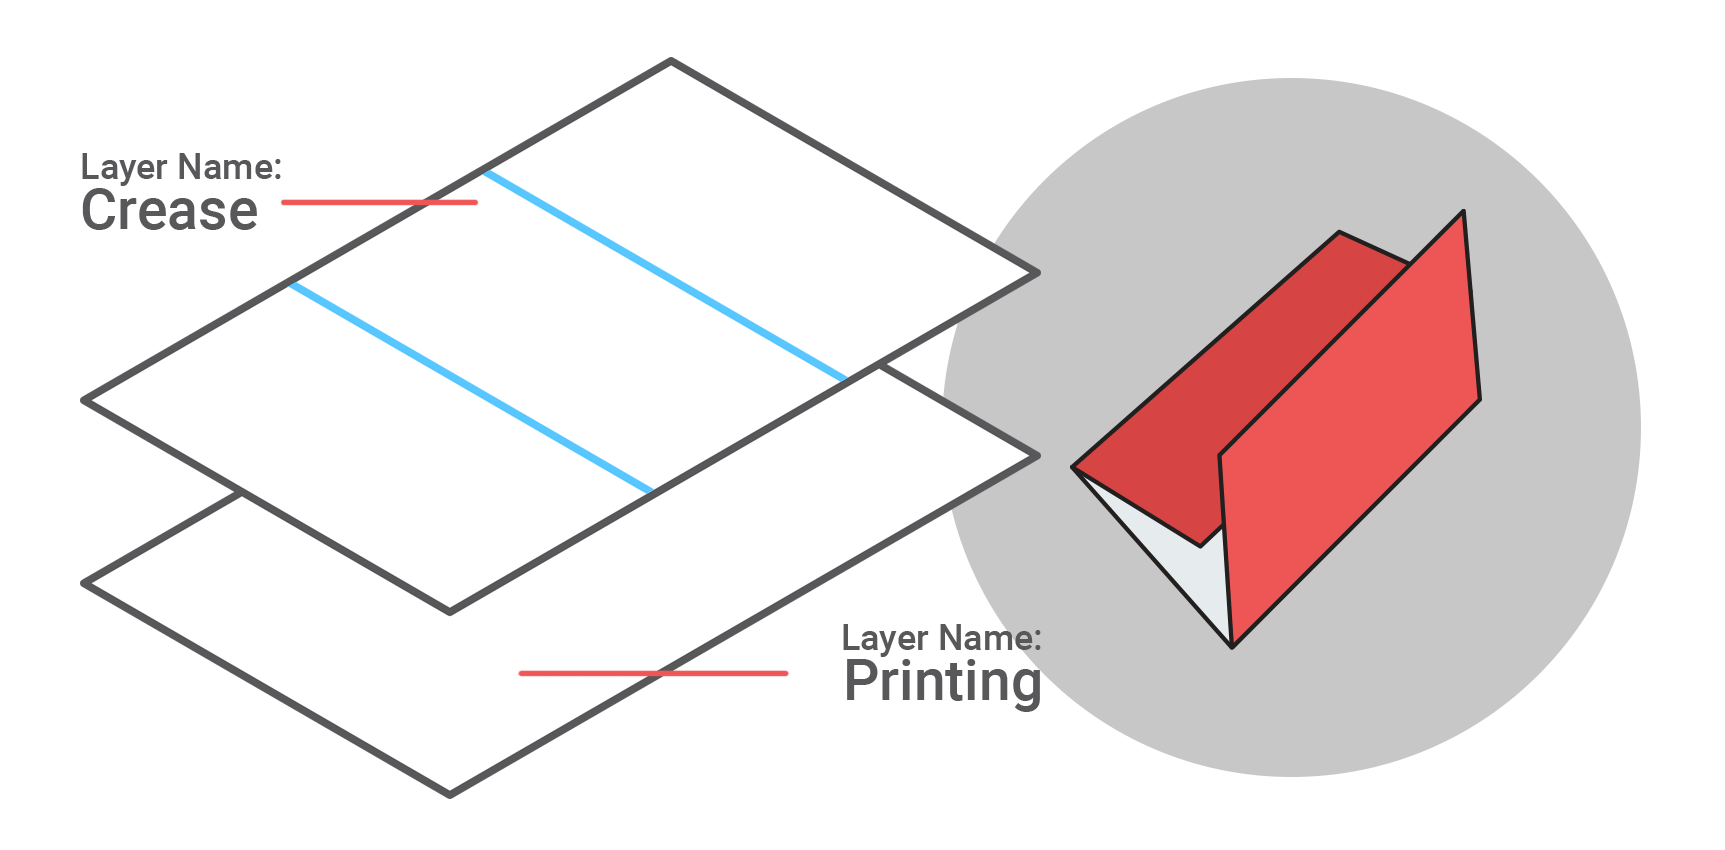
Creasing Guideline
Creasing is a print finish that adds a crease to a flat printed card sheet (which can then be folded later). The crease is impressed on top of an image after the printing and laminating process. In the case of laser cutting, the crease is performed by lightly scoring the card with the laser.
Creasing can only be created if you make a ‘Crease’ Layer in your artwork, using Adobe Illustrator or Indesign only.
To do this; create a new layer in Illustrator or Indesign and name it ‘Crease’. In this layer, use a 100% Cyan stroke colour to create a line where you wish the crease to appear.
Please extend the crease line to the outside of the bleed line.
Below this creasing layer, you can place any other special layers, (eg. Scodix, Lasercut, White printing, etc.). Place your ‘Printing’ layer below any special layers, here you can place all text and images that will be printed in full-colour ink.
When your design is ready to be exported to PDF, It is essential to export using the below settings.
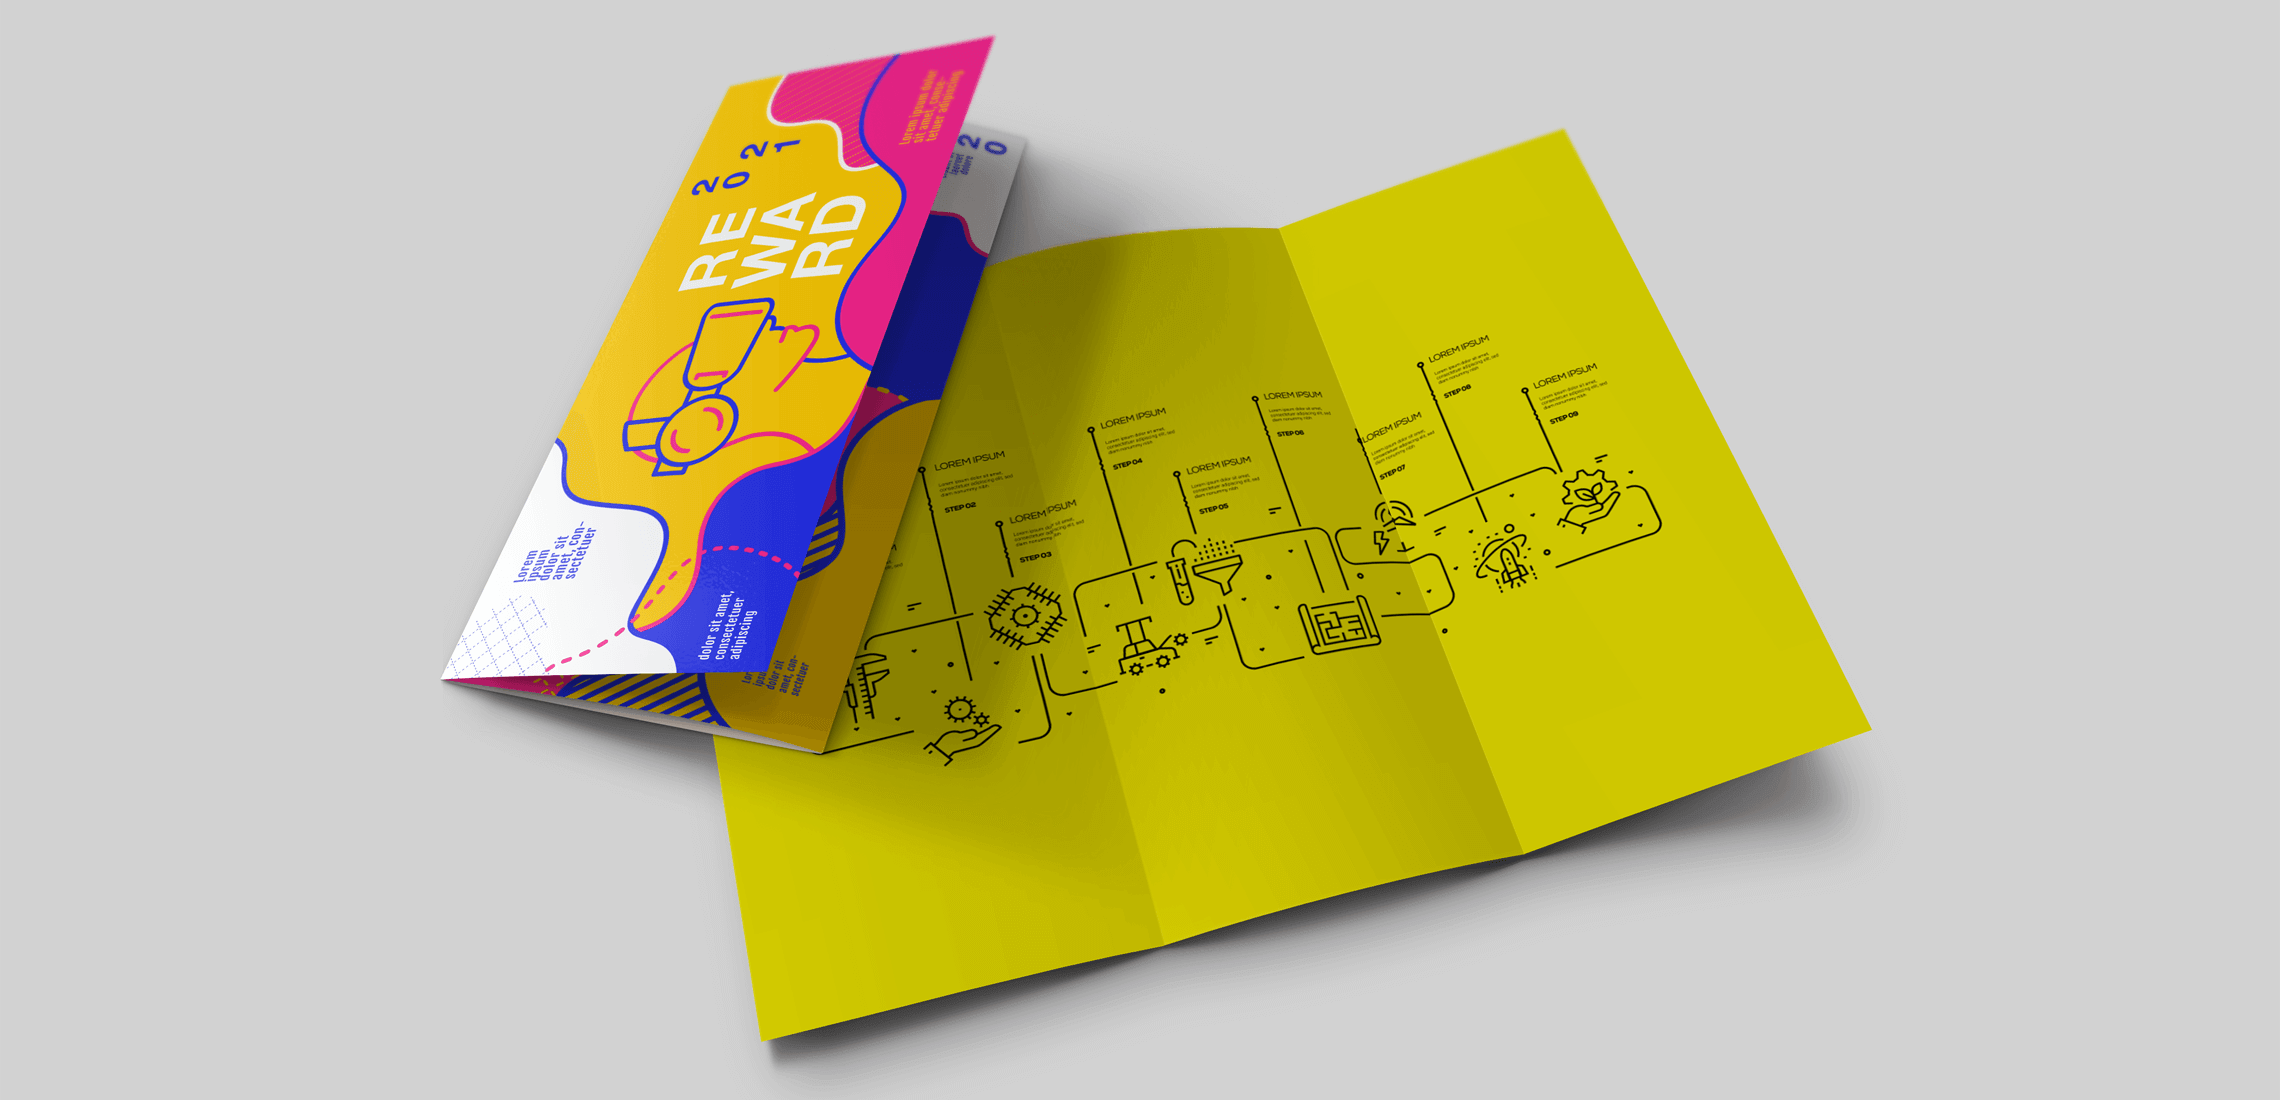
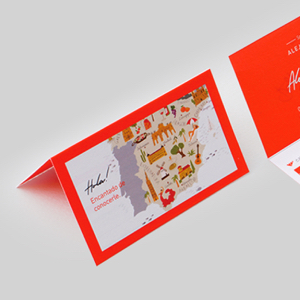
Folding Guideline
To have your printed project folded, you will need to create some crease marks in your artwork and also select the folding type you need from the finishing options on the order page. Please be mindful of the paper or card stock you choose. A paper stock over 200 GSM may not lay completely flat. Any stock over 200 GSM may have a small amount of ‘rise’ when closed and laid flat.
Creasing can only be created if you make a ‘Crease’ Layer in your artwork, using Adobe Illustrator or Indesign only. To prepare your artwork file; create a new layer in Illustrator or Indesign and name it ‘Crease’. In this layer, use a 100% Cyan stroke colour to create a line where you wish the crease to appear.
Please extend the crease line to the outside of the bleed line.
Below this creasing layer, you can place any other special layers, (eg. Scodix, Lasercut, White printing, etc.). Place your ‘Printing’ layer below any special layers, here you can place all text and images that will be printed in full-colour ink.
You will need to divide your layout into panels using these page dimensions. We highly recommend you take a blank sheet of paper and fold it using this guide. After folding, write the numbers on each panel. This ‘mock-up’ will help you greatly when creating your design layout in Adobe Illustrator or Indesign.
When your design is ready to be exported to PDF, It is essential to export using the below PDF settings.
Exporting PDF’s
Adobe PDF Preset : Press Quality
Compatibility: Acrobat 6 (PDF 1.5)
Preserve Illustrator Editing Capabilities
Create Acrobat Layers from Top-Level Layers
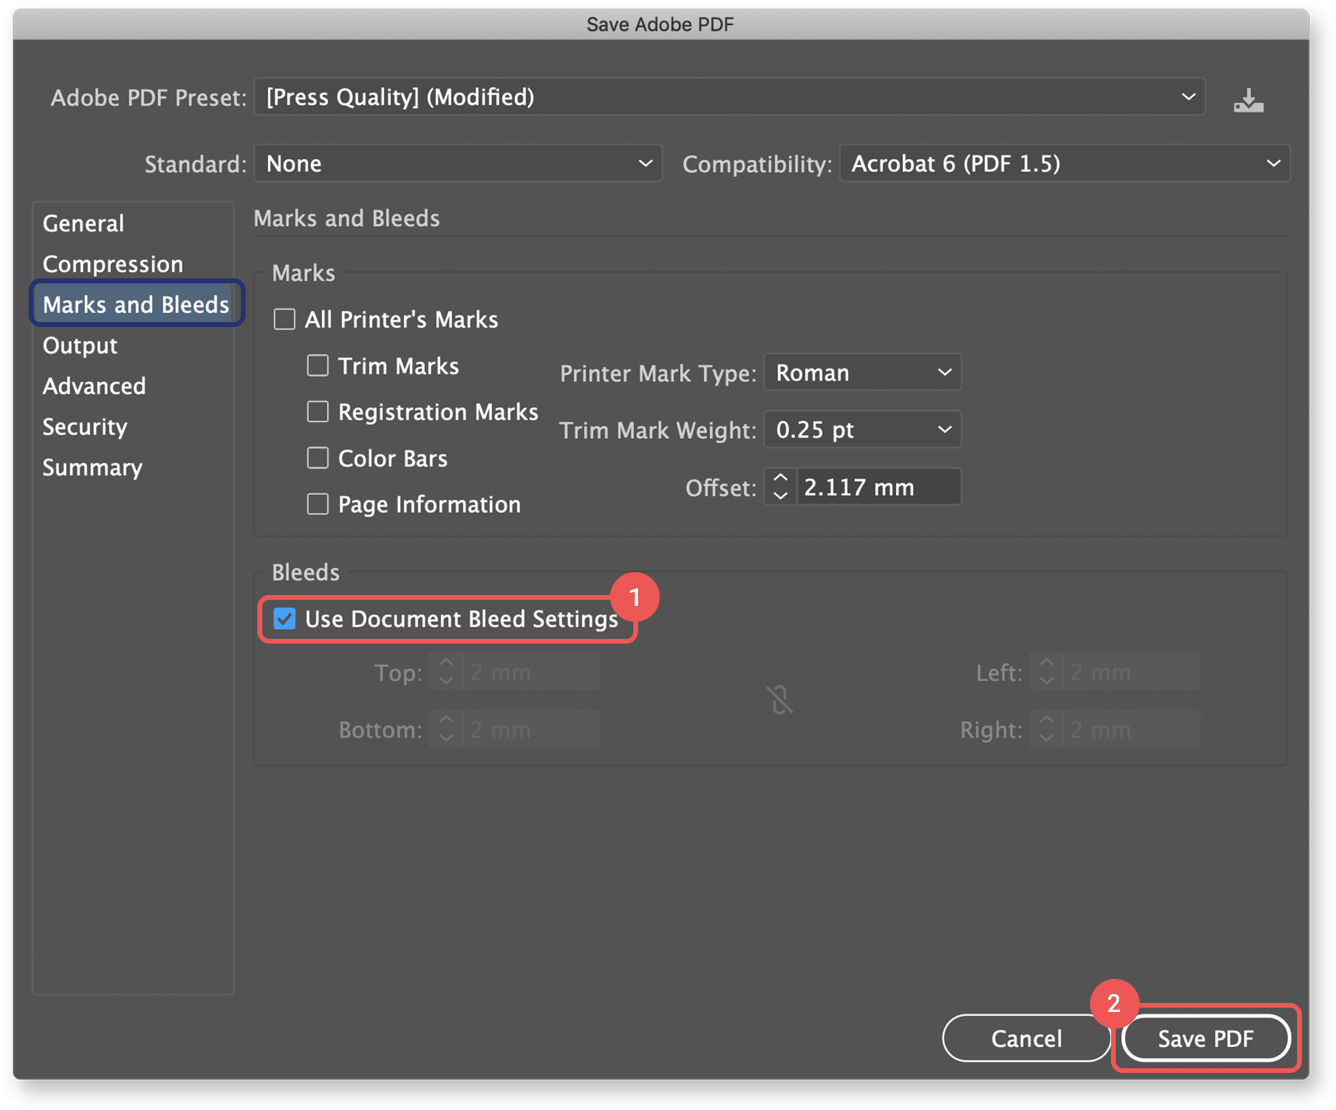
Enter ‘Marks and Bleeds’ Section last
Use Document Bleed Settings
Save PDF
Paper Info
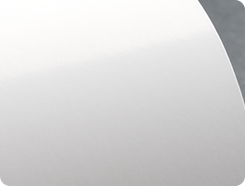
Standard Semi-Gloss
Weight 150g, 180g, 200g, 250g, 300g
Muted white paper with a semi-gloss finish. Most commonly used for custom printing.
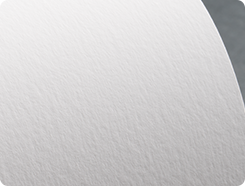
Standard White (Uncoated)
Weight 100g, 120g, 150g, 180g, 220g
Uncoated muted white (wood-free) paper. Widely used for general printing.
Premium White (Uncoated)
Weight 130g, 160g, 190g, 210g, 240g
Uncoated premium white paper with a lightly dappled texture. Widely used for premium printing.
Deluxe White (Uncoated)
Weight 262g
Uncoated bright white paper with a smooth finish. Mainly used in premium card printing.
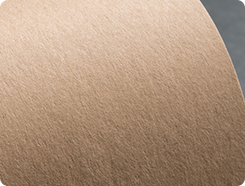
Kraft Board (Recycled)
Weight 216g
100% Recycled wood pulp card. Suitable for printing A3 and over.
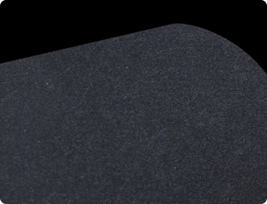
Sirio Color Black
Weight 290g
A premium and highly durable paper which gives a luxurious woven fabric embossing finish, combined with natural colors of the canvas. For high quality packaging and book covers. (FSC® Certified / Neutral preservation paper / Made in Germany)
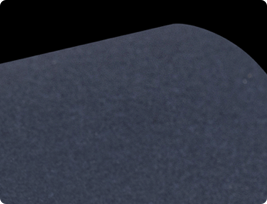
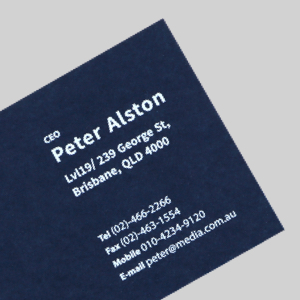
Sirio Color Dark Blue
Weight 290g
This is a FSC® certified uncoated paper which has a smooth surface, made of Elemental chlorine free (ECF) pulp. (FSC® Certified / Acid-Free)
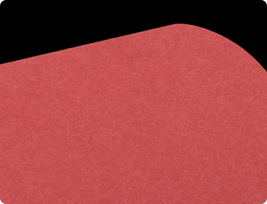
Sirio Color Red Lampone
Weight 290g
This is a FSC® certified uncoated paper which has a smooth surface, made of Elemental chlorine free (ECF) pulp. (FSC® Certified / Acid-Free)
Finishing Info
501772
Folding
Folding
Check the ‘options’ tab for available folding options.
Glossy Coating
Glossy Coating
This finish protects the surface, prevents tearing and has a shiny appearance. The coating will add an extra 20GSM onto the weight of your paper. If you choose to finsih with a double sided Glossy Coating, then 40GSM will be added to the paper’s weight.
Matte Coating
Matte Coating
This finish protects the papers surface, prevents tearing and has a non-shiny appearance. The coating will add an extra 20GSM onto the weight of your paper. If you choose to finsih with a double sided Matte Coating, then 40GSM will be added to the paper’s weight.
Perforation
Perforation
This finish produces dotted holes in a line. Perfect for when you require easy tearing, such as ticket stubs.
Creasing
Creasing
Creasing can also be referred to as ‘fold lines’. A crease makes for easy folding along the indented line.
White Printing
White Printing
This white ink looks great when printed on coloured paper. Full CMYK can also be printed onto coloured paper, but first, a layer of white ink is applied to the surface, and then the CMYK is printed ontop.
Shipping&Delivery
Order Total
Digital Print (Labels&Stickers,Business Cards,Marketing Materials,Cards&Gifts,and Photo Prints)
Banners & Signs Posters Offset Print
SGD 0.00-SGD 49.99
Shipping:SGD 5.90
Shipping:SGD 9.90
Over SGD 50.00
Free Shipping
Shipping: Fr SGD 9.90
Estimated Delivery Time:7-9 business days
*Above promotion only applies to Singapore.For other countries,please see our rates below.
Shipping Cost
Shipping is FREE for orders over S$50.00.(Digital Prints only) Note:Digital Print, Offset Print, Posters and Banners&Signs will be packaged and shipped separately.
Delivery Method
Courier(Registered Airmail-Signature On Delivery)
Delivery Region
Singapore
Delivery Time
Estimated 7-9 business days after order is processed. Please note that some products or finishings take longer to produce and ship,increasing the delivery time.
Delivery tracking information
You will receive a shipping notification email with a link to your tracking information once the carrier has picked up your order.
Customs
We are not experiencing any delays with printing and dispatching orders from our printing facility. However,although not often,there could be unforeseen delays while in the hands of our courier services and/or at custom clearance.
WorldWide Shipping
We can now ship to more than 15 countries. Please see shipping rates below.
*An initial shipping fee (S$5.90 - S$9.90) will be charged when placing an order. *Any additional shipping charges incurred will be notified by email.
Returns & Exchange
Here at Red Printing, we make every effort to ensure excellent customer satisfaction. We pride ourselves on our high-quality print production, but sometimes - as with all printing, a manufacturing issue can arise.
Please note that we are not responsible for individual circumstances which are beyond our control, but not limited to, the following:
Consumer-made mistakes such as:
Font mis-selection, typo, grammar and spelling errors
Poor/low quality and low-resolution uploaded images
Text/Image crop offs on or close to cutline
Design errors and wrong colour selections
Any errors made by you during the creation of an artwork file, mis-selection of size, quantity, product type, finishing options, paper type, cutting options and other order specifications
Wrong template selection, incorrect image orientation and positioning
Duplicate orders
Incorrect file layout for finishing such as folding, creasing, die or kiss cutting
Delivery delays due to erroneous files and damage to products after delivery to the customer
Please note that we do not proof artwork or designs created by customers before production, and it's the customer's responsibility to check the print file thoroughly before sending to print. Please preview your designs, check and correct any mistakes before placing your order and payment. Red Printing reserve the right to decide whether to issue a refund, replacement or partial refund on a case-by-case basis.
If a refund request is made and approved, through credit card, it would reflect in your next bank statement (depending on banks) or if through PayPal, you should receive the funds back to you within approx. 5-7 business days. Do note that there will be a 5% cancellation fee of the order.
Just to further inform you on colour printing, even though we ask that you edit your files in CMYK, colours are still displayed on the screen using RGB and will always look brighter and more vibrant than the final output. Because of this, the colours on the printed products may differ slightly than seen on your monitor screen. Please refer to our User Guide for more information.
For further inquiries or to make a reprint/refund request, please email us at support@redprinting.sg and we will look into it.


 Cart
Cart